The Workshop
From an extinct OEM part to a piece you can bolt straight on.
We don’t print a rough scan and call it done. Every part starts as an intact original reference, gets fully reverse-engineered in CAD to within 0.05 mm of the scan data, and undergoes relentless prototyping until it fits like factory hardware and survives real-world riding.

Source the Original
We start with a clean OEM reference part. An accurate original is the only foundation for a replacement that earns its place on your bike.
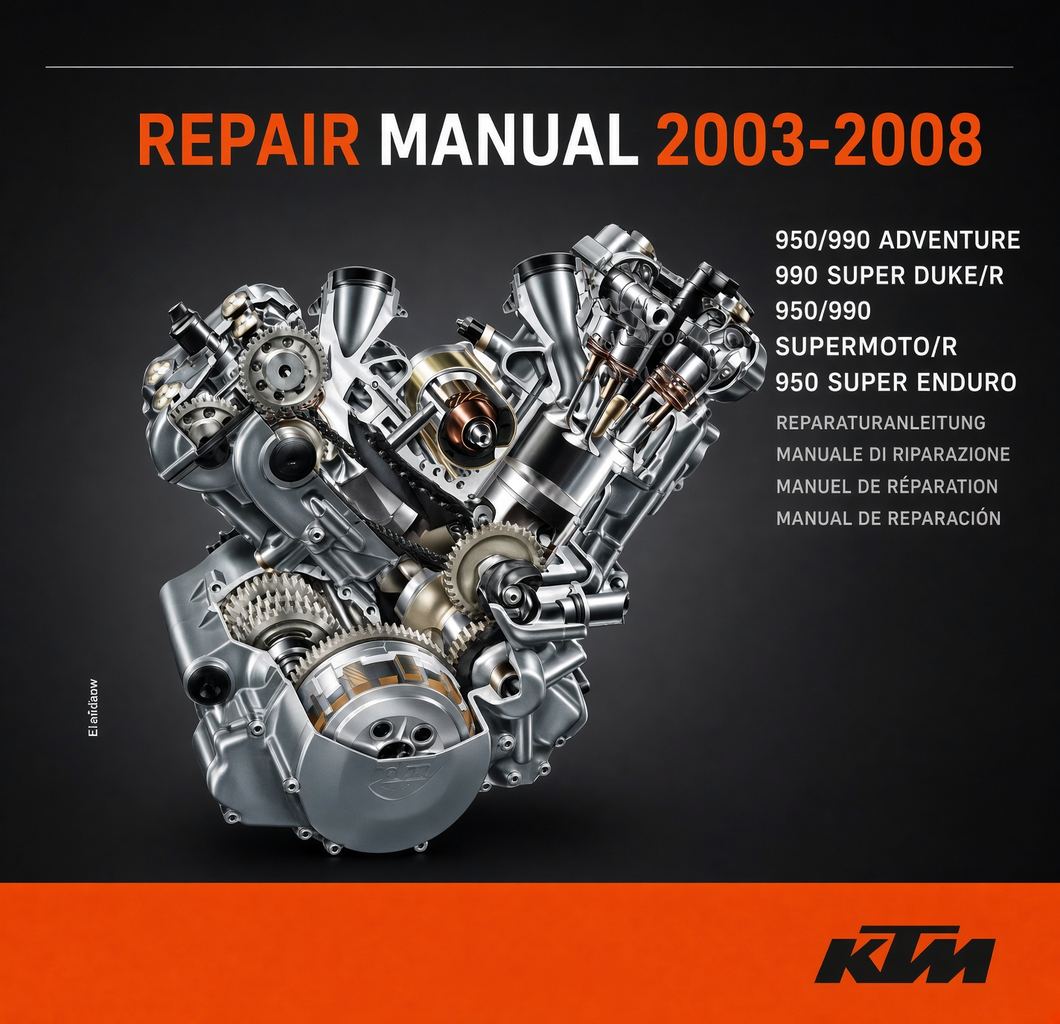


High-Density 3D Scan
Captured using a Shining3D Rockit. In EXScan Hub, we shoot the part from every critical angle, merge the passes into a unified point cloud, and generate a high-density mesh that holds real geometry without soft edges or "close enough" approximations.

Parametric CAD Reverse-Engineering
The raw mesh enters Quicksurface Pro, where we rebuild it into a clean, parametric CAD model held within 0.05 mm of the scan data. Mounting points, clip interfaces, sealing faces, and mechanical clearances are modeled from scratch—never auto-traced. The model is finalized in Autodesk Fusion to prepare it for manufacturing without sacrificing dimensional accuracy.

Production Slicing & Toolpaths
In Bambu Studio, toolpaths, infill structures, perimeter counts, and material profiles are dialled for structural strength and thermal performance. Production runs in-house on industrial-grade Bambu Lab H2D hardware.


Iterative Prototyping
This is where the time goes. Warped tabs, tight tolerances, mechanical feel, and material behavior are iterated against the original OEM component until we have a production-ready part.

Field Testing & Trail Validation
Before any part goes into batch production, we bolt it onto our own bike and go ride. Bench measurements prove the CAD geometry; riding proves the durability. We evaluate feel under glove use, monitor material behavior around engine and exhaust heat, and shake it down over corrugated gravel roads. This is the best part of the process—and the only way a part earns its place in our catalog.

Small-Batch Production & Scaling
Perfecting a prototype is only half the job—making it accessible is the rest. Once part geometry is fully validated, we optimize print layouts and nest components for batch manufacturing. Running structured, small-batch production runs streamlines machine time and minimizes material waste. This allows us to scale inventory and keep prices fair, while maintaining zero-defect quality control on every part that leaves the workshop.
What You’ll See Here:
Print time-lapses, scan-to-CAD workflows, and real prototype iteration logs. Proof that the value is in the engineering, not the marketing.
This is how discontinued parts come back. Exact fitment. Engineered for heat, vibration, and hard riding.


